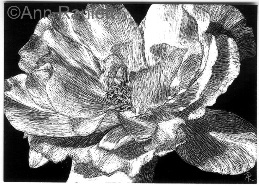
Ink
on Scratchboard
Learn more about scratchboard and
see a demo of Ann's drawing process
What is Scratchboard?
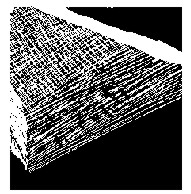
Scratchboard is a special type of drawing surface that consists of a board
base (paper or wood) and a thick surface coating of specially prepared
hard white chalk or clay. It was invented about 100 years ago to replace
the tedious technique
of
wood and metal engraving for illustrations. Ink is applied to the scratchboard’s
chalk surface with a brush or pen. The ink can then be removed where desired
with any sharp tool, creating a white mark or line by exposing the white
surface underneath the ink. Black scratchboard is also available - it’s
the same surface, but it has already been completely coated with black
ink.
Why Scratchboard?
I fell in love (I’m not exaggerating) with scratchboard when I took a
workshop at an illustrator’s conference. The workshop was taught by Trudy
Nicholson, a wonderful illustrator and fellow member of the Guild
of Natural Science Illustrators (GNSI). I had been drawing with pen and ink for many years,
and enjoyed it immensely - I
liked
the challenge
of
rendering a subject using just black and white. The problem with pen and ink,
though, is that once the ink is on the
paper, it’s there for good. Changes are very difficult to make. If the
drawing is for print reproduction, corrections can be made, but they’re
still visible on the original. With scratchboard however, the thickness of
the coating allows for many revisions. Using scratchboard as a drawing surface
for pen & ink also allows for a greater variation of line and value and
creation of finer detail than a paper surface does. For example, I can scratch
a white whisker on a black area with the thin edge of a knife. Trying to draw
that in pen and ink on paper would require drawing black around the white whisker
to leave the paper showing through - that’s very difficult to do!
Scratchboard is a wonderful and forgiving surface on which to work, allowing the artist to make changes easily and to “interact” with the surface. Drawings rendered in pen & ink on scratchboard also reproduce very well; even though there are areas that appear gray, everything’s really in black and white.
The
demo examples that follow are from a portion
of a drawing (in progress) of a yellow warbler in a willow. For Steps 2 & 3, click on the images to see larger images |
|
| STEP
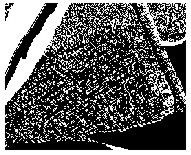
1 On white scratchboard, after transferring the image, I use a brush to apply black India ink to all the areas that will be medium to dark in value. I prefer to use white scratchboard instead of black scratchboard, because if I used the black, I would have to scrape the pre-coated ink away from all the areas that I want to be white or light in value. There will be very few completely black areas on the finished drawing, and nearly all of my drawings have a clean white background. |
 |
| STEP
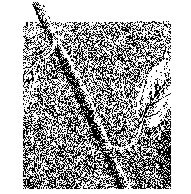
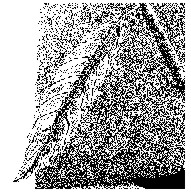
2 A With an X-acto knife (#16 blade), I scratch away ink to create cross-hatch lines. This will start to change the values of some of the dark areas. B |
|
STEP
3
|
|
Click
here to see more samples of my ink on scratchboard art Also visit the scratchboard forum on WetCanvas.com for tips, tricks and inspiration. |
|
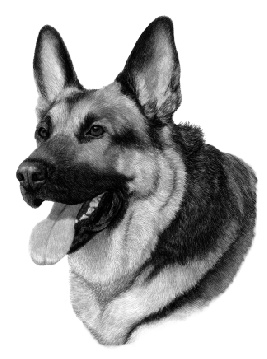
A Note About
My Pet Portraits
If you've seen my pet portraits, you'll notice that many of
them have graduated grey tones. To get that look I use a technique similar
to that described above, but in addition to full strength ink I add washes
of ink to the scratchboard. To get the washes, I dilute ink with water
in various amounts to get 3 or 4 different shades of grey. I paint full-strength
ink on the darkest parts and fill in the rest of the portrait with different
shades of grey (even the white areas are painted a very light grey to
provide some contrast for scratching in the whites). This provides my
value study/road map. I then work over the portrait with a knife to
soften
and
blend
the tones and define the fur direction. Then I'll add more ink and ink
washes where necessary. From there, I'll alternate between the knife
and ink/ink washes until the portrait is complete.
"Baron" click
here to see more samples |
© 2003
- 2011 Ann Ranlett - All Rights Reserved
www.annran.com
